

It's Monday! You know what that means...it's a MAKE IT post!
Today I'm showing you how to make a mini zipper pouch. This is a great
beginners project; and it's simple and fun to make.
Also, Mother's Day is coming; make your mom one!
Let's get started:

You will need:
Fabric (One for outer fabric, one for lining)
Interfacing (optional)
zipper
scissors
thread
sewing machine
1. Cut 2 pieces of the outer fabric and 2 pieces of the lining fabric
(mine measure 4 1/2 X 5 1/2)


Interfacing is optional but I love using it whenever I'm making pouches.
I mainly use cotton fabric and the interfacing helps make it sturdy.
I used a fusible nonwoven interfacing.


2. Get one of your lining fabrics and place it right side up, put your zipper
on top of your lining fabric and then place your outer fabric right side down onto the zipper and lining. Make sure all three edges line up and pin them together.


If you have a zipper foot use it; but if you don't, no worries we can
just use our regular ol' pressor foot. Sew along the top between the edge
and the zipper teeth.


Pull your fabric back and press it with an iron.


3. Repeat step 2!


Pull your fabrics back and press with an iron.

4. Now that you have all fabrics attached un-zip the zipper halfway.
This is important because once you stitch the pouch you will need
to turn it right side out...through the opening. I forgot once, it was not fun.

5. Bring your outer fabrics to one side and your lining fabrics to
one side and pin them together. Lay your zipper on top of each other
with the zipper teeth facing the lining fabrics.

Leave a 2 inch opening in your lining. If this is forgotten you have no way
in turning the fabric inside out. I've forgotten this step once before as well,
it was also not fun.

6. Sew around your pouch (except the opening) 1/4 inch from the edge.
Sew slowly when sewing over the zipper.

7. After sewing, snip your corners and excess zipper.

8. Through your opening turn the fabric right side out.

Your pouch should look like this. Now press!

9. Pin the opening and sew it closed.

10. Push your lining inside...
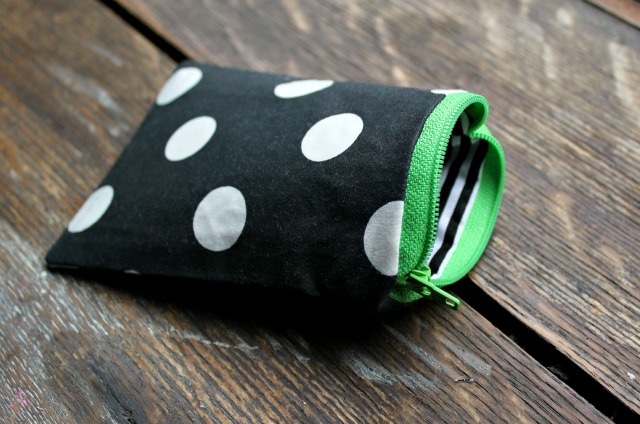
And you have a lined zipper pouch! Yay!!
Wasn't that fun and simple?

If you made this size pouch it is perfect for holding your credit cards, cash,
license, lip balm and coins! You can make any size pouch with this method
just cut out a different size and get a zipper that fits.
Hope you enjoyed this tutorial!
Happy Making!
♥
it's that easy? i always thought it was super hard to make those things!
ReplyDeleteOh wow, you make this look so fun and easy! The idea of sewing in zippers has always baffled me but you did a great job of explaining everything.
ReplyDeletegreat, great DIY - love this!
ReplyDeletegrace
http://herumbrella.com
Very cute, Stela!
ReplyDeleteLove the big polka dots :)
It's just like I chose the fabric and colours!
ReplyDeleteLove it!
So cute!! Thanks for sharing.
ReplyDeleteMan, I can totally handle this. I've always been afraid to sew zippers, but it's really not that hard!
ReplyDeleteoh yay! i've made one before but without the lining - i couldn't understand it before, but now i can! thank you.x
ReplyDeleteI love the mismatched pattern of the outer fabric and the lining. Yours are great mix! Thanks for sharing the tutorial, Stella!
ReplyDeleteGreat tutorial! These are so many functions where a little bag like this is a just perfect.
ReplyDeleteWonderful tutorial!!!! I wish I could sew as well as yoU!
ReplyDeleteI do like the dirty effect of your table. it makes the subject pop.
ReplyDeleteBrenda
Life Less Ordinary